Best light
- Early morning: fewer crowds + soft light.
- Golden hour: 45–60 min before sunset.
- Night: use night mode or a small tripod.
Quick checklist
- Extra battery / power bank
- Rain/wind protection
- Memory card (if using a camera)
🧳 Travel essentials for New York
Handy items to make your trip smoother:
← Back to home
Quick gallery (7 photos)
Click any photo to open it larger.
How to get better NYC photos
- Golden hour: sunrise and late afternoon are best.
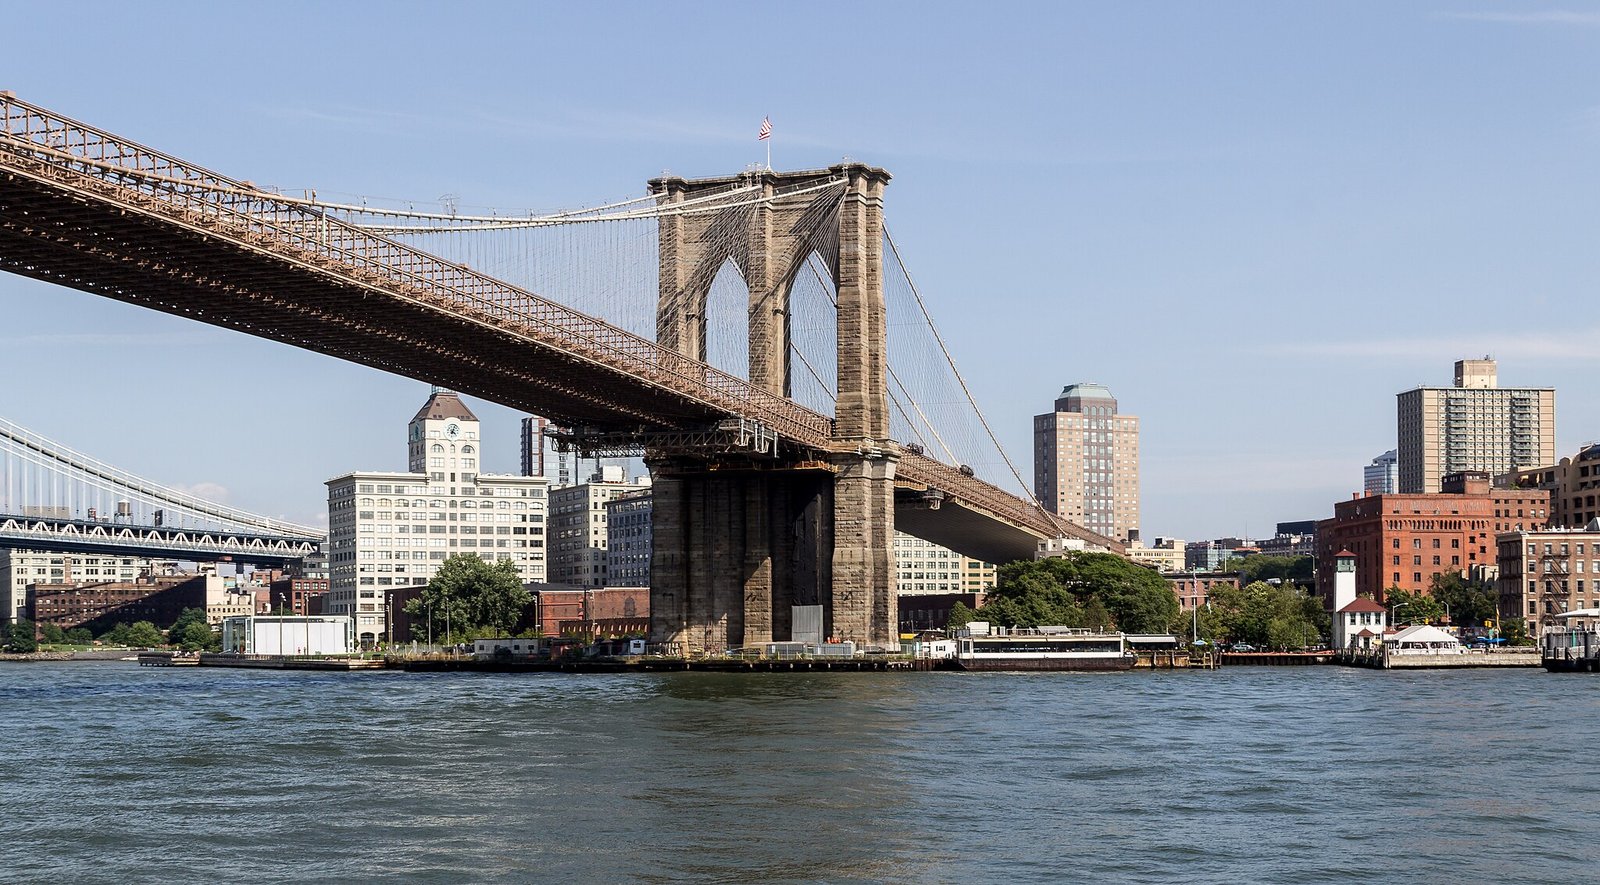
- Iconic angles: Brooklyn Bridge + DUMBO skyline at sunset.
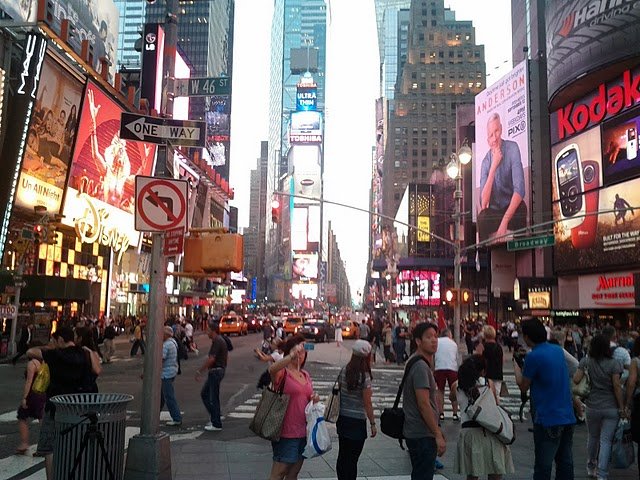
- Night: Times Square and skyline shots—stabilize your phone/camera.
📷 Photos by Place (New York)
Open the gallery page with the 7 images.
Open Photos →
Ready-to-use photo routes
- Route 1 (Downtown): 9/11 Memorial → Wall Street → Brooklyn Bridge.
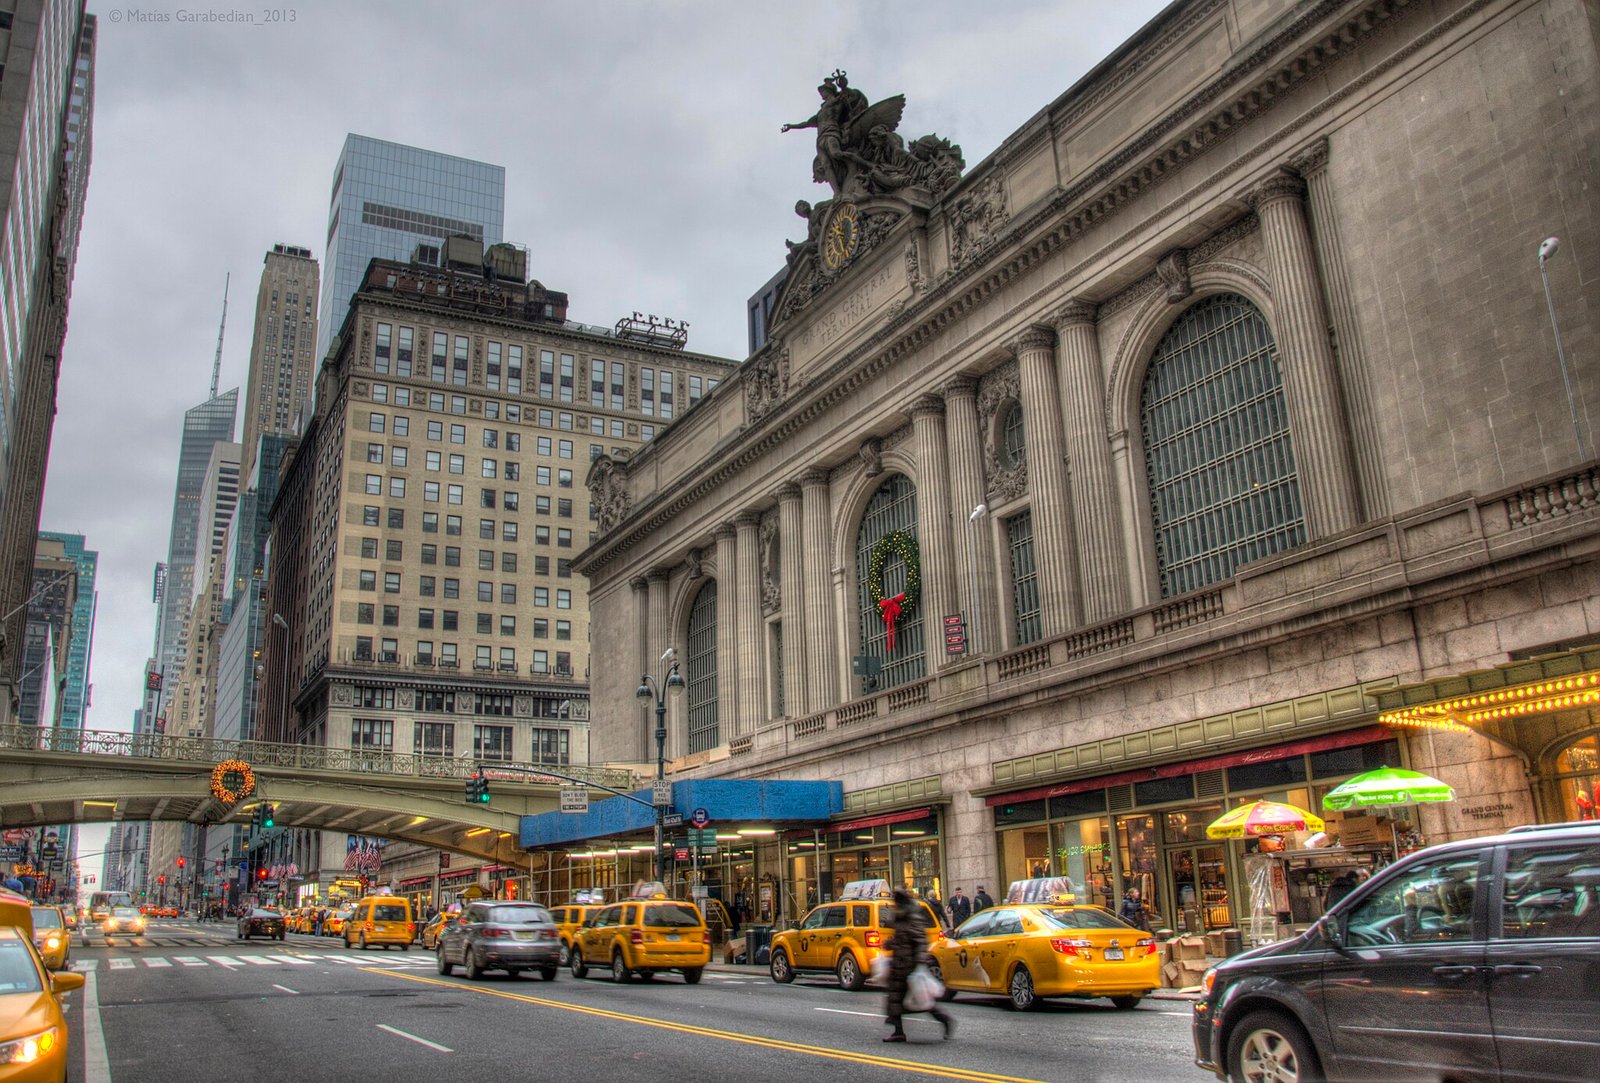
- Route 2 (Midtown): Grand Central → Bryant Park → Times Square / Top of the Rock.
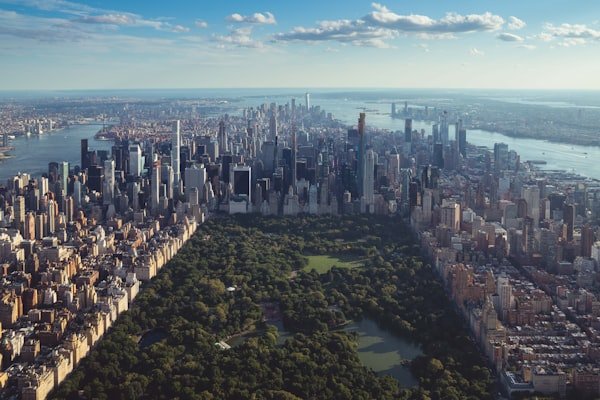
- Route 3 (Green): Central Park (Bethesda/Bow Bridge) → Upper areas.
Gear & settings (simple)
- Phone: use HDR, clean the lens, and stabilize at night.
- Camera: keep ISO low when possible; tripod for night skyline.
- Safety: be mindful in crowded spots; keep straps secure.
Best photo spots (quick list)
- Brooklyn Bridge: sunrise for fewer crowds; sunset for warm tones.
- DUMBO: classic “bridge framed by buildings” angle.
- Times Square: night neon, long exposure if you have a tripod.
- Central Park: Bethesda Terrace and Bow Bridge for cinematic shots.
- Grand Central: interior architecture and motion blur shots.
Timing (when to shoot)
- Sunrise: bridges and parks; calm streets.
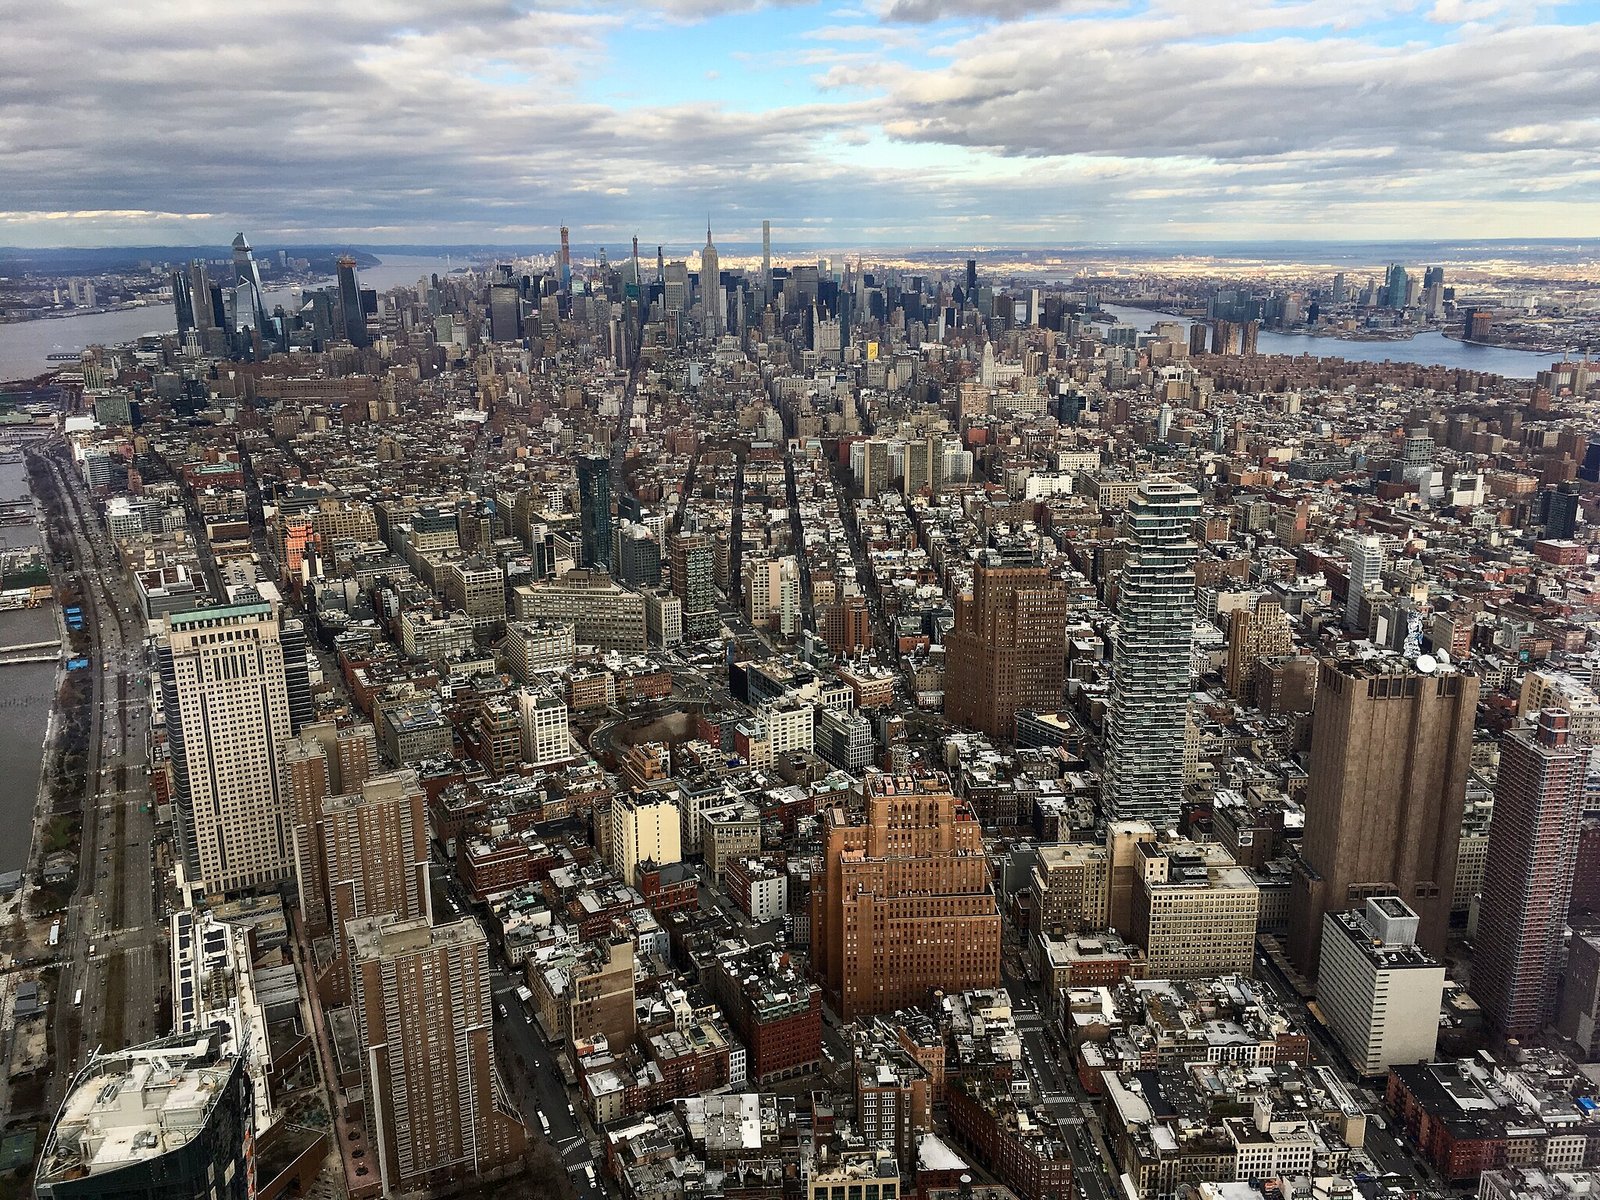
- Golden hour: skyline and riverside.
- Night: Times Square, bridges, and skyline viewpoints.
Composition tips that work in NYC
- Use leading lines (bridges, avenues, subway stairs).
- Look for reflections after rain (streets, windows).
- Keep one “wide” shot + one “detail” shot per place for variety.
Safety & practicality
- Keep gear close in crowded areas; avoid leaving items unattended.
- Plan subway exits (some stations have many exits—save time by choosing the right one).
📷 Photos by Place (New York)
Open the full gallery with the 7 images and the key locations.
Open Gallery →
Street photo checklist
- Lens/zoom: wide for skyline/architecture, 2×/tele for details.
- Stabilization: lean on a wall/rail at night, or use a small tripod.
- Weather: after rain = reflections; winter = crisp light; summer = strong shadows (shoot early/late).
Sample “photo day” schedule
- Morning: Brooklyn Bridge (low crowds) → DUMBO.
- Afternoon: Midtown (Grand Central / Bryant Park).
- Golden hour: skyline from riverside or Brooklyn Bridge Park.
- Night: Times Square neon + long-exposure shots.
Quick gear suggestions (travel-friendly)
- Comfortable walking shoes, power bank, and a small microfiber cloth (lens cleaning).
- Optional: compact tripod, small sling bag (keeps gear close).
Editing (fast workflow)
- Keep horizons straight (bridges and skyscrapers show tilt easily).
- Lift shadows slightly, reduce highlights in bright daytime shots.
- For night neon: lower highlights and add a touch of clarity.
Photo etiquette
- Avoid blocking sidewalks in busy areas; step aside for framing.
- In subway stations, stay aware of surroundings and follow signage.
Best angles (by place)
- Brooklyn Bridge: center walkway for symmetry; side rails for framing.
- DUMBO: arrive early to avoid crowds at the classic viewpoint.
- Central Park: try wide shots for landscapes and tight shots for details.
- Grand Central: a slower shutter can create cinematic motion blur.
What to carry (minimal)
- ID, card, power bank, water, and a small rain layer (weather changes quickly).